This is a guide to install WHM/cPanel on CentOS 6.6 64bit. This setup is specific to this configuration, where we use CloudFlare as name servers.
Prep the OS
Start by updating the OS:
yum update
After the update, run the screen command:
screen
Install cPanel
This is to ensure that the process doesn’t hang in case the ssh client disconnects. Install the latest stable version of WHM/cPanel.
cd /home && curl -o latest -L http://httpupdate.cpanel.net/latest && sh latest
In case the ssh client disconnects. Just reconnect again on the same host and run this command:
screen -r
After the install completes, activate the license for WHM/cPanel:
/usr/local/cpanel/cpkeyclt
Configure firewall for cPanel:
/scripts/configure_firewall_for_cpanel
Install IonCube and Zend Guard
Install ioncube loader.
/scripts/phpextensionmgr install IonCubeLoader
Install Zend Guard Optimizer.
/scripts/installzendopt
Login to https://$ip_address:2087/ to continue installation. The variable $ip_address could either be an ip assigned by your host or a fully qualified domain name.
Initial Configuration for cPanel
Login with the root credentials on the WHM control panel.
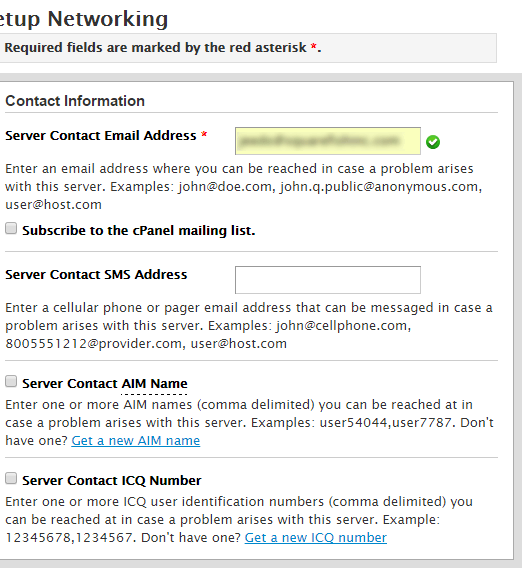
Update contact information. Make sure this is a working email address.
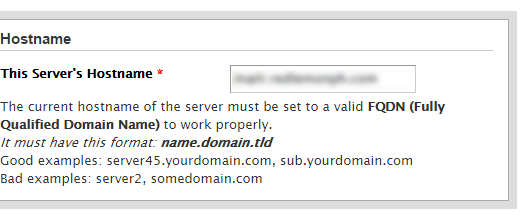
Configure the hostname. This should be a fully qualified domain (FQDN).
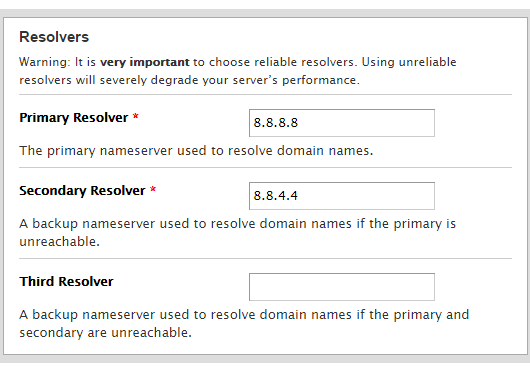
Fill in the ip addresses for domain resolvers. We use Google’s nameservers since they are pretty reliable and free.
Configure ethernet device. Common setup will only have one ethernet device.
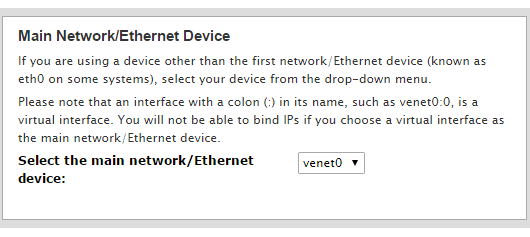
Save and proceed to the next step.
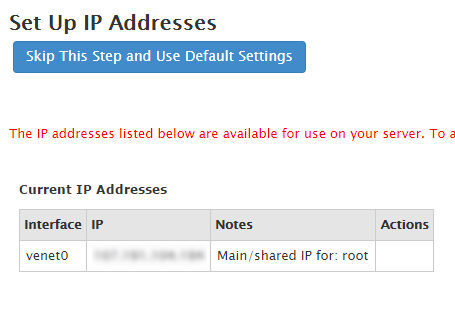
Setup the ip address, just click on Skip This Step and Use Default Settings.
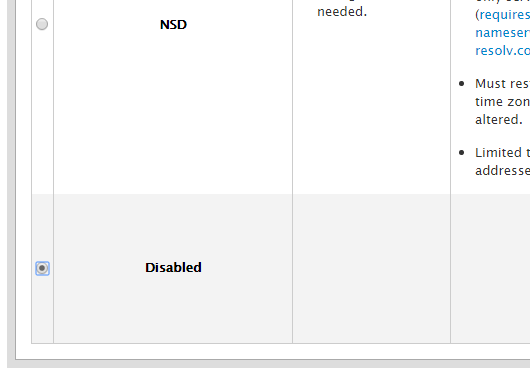
Since we’ve decided to use the cloudflare name servers, Name Server configuration is disabled.
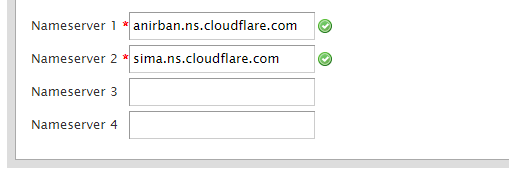
Set the cloudflare name servers here. Note that this is account specific:
Add A entry is skipped.
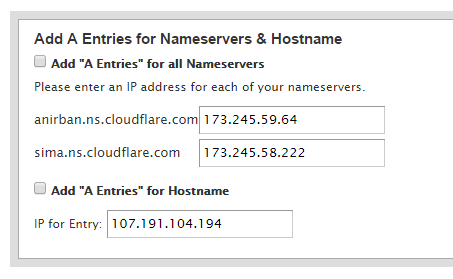
Save and go to step 5.
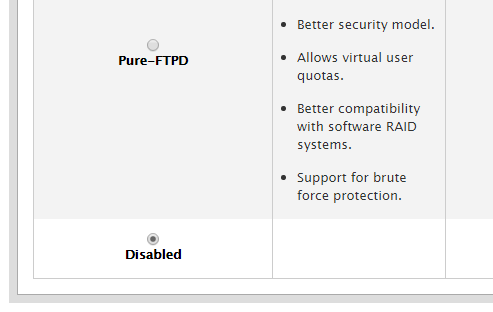
On the next window configure FTP, mail and cPHulk. Disable FTP to force SFTP only.
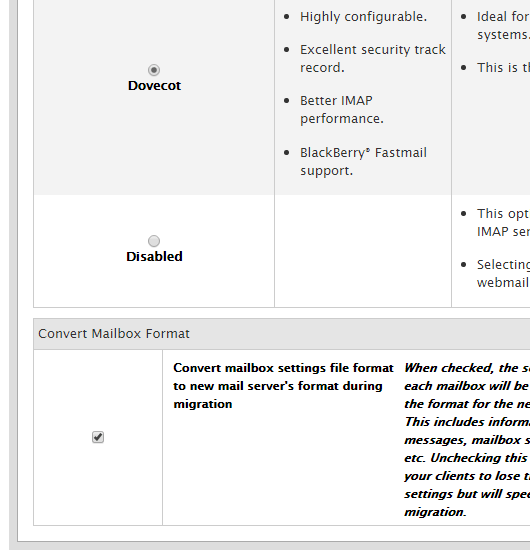
Use Dovecot as mail server.
Enable cPHulk. Uncheck Install common set of Perl Modules.
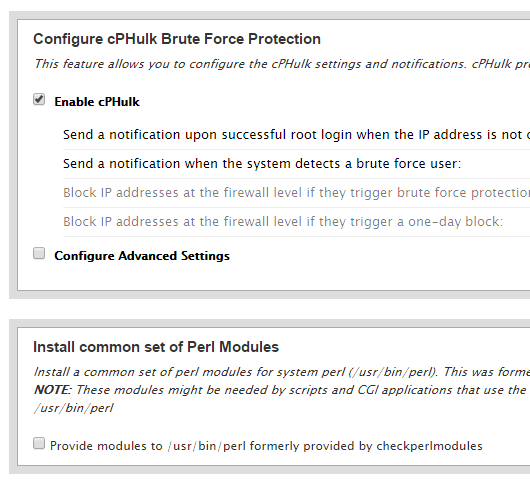
Save and go to step 6.
Enable disk quotas.
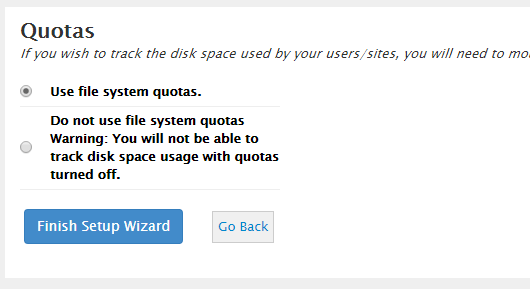
Save and continue.
On the next window, use the default options.
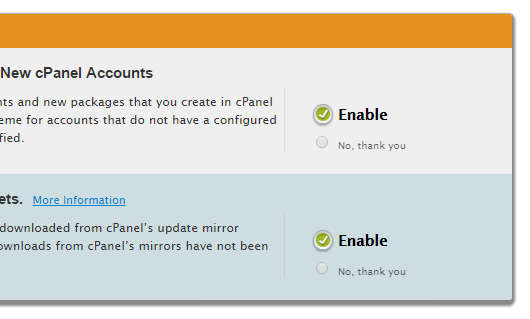
Use default options as well with the new features.
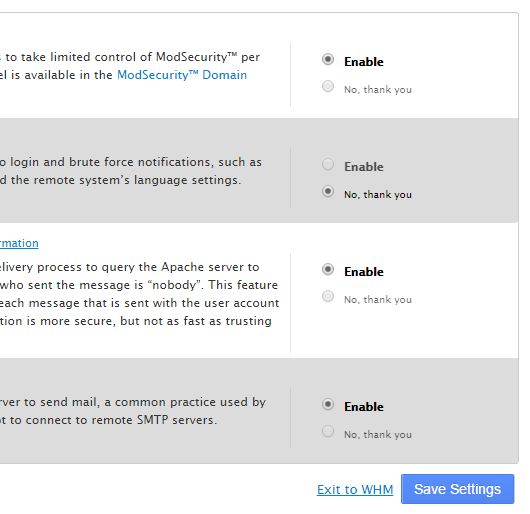
Save settings.
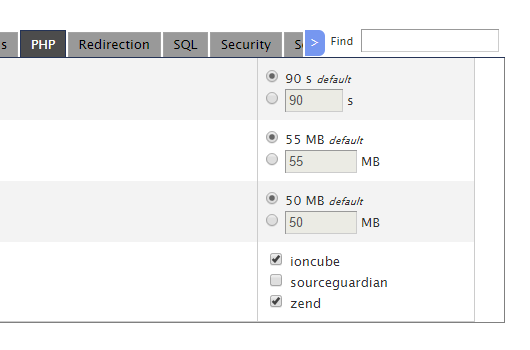
Once this is done, make sure to enable ionCube and ZenGuard on cPanel. Go to Server Configuration > Tweak Settings > PHP.
Install Varnish
This install guide is for varnish version 3.x. Before installing varnish, change the port that Apache listens to, in this case 8080. It can be any other unused port. This can be accessed via Tweak Settings > System > Apache non-SSL IP/port.
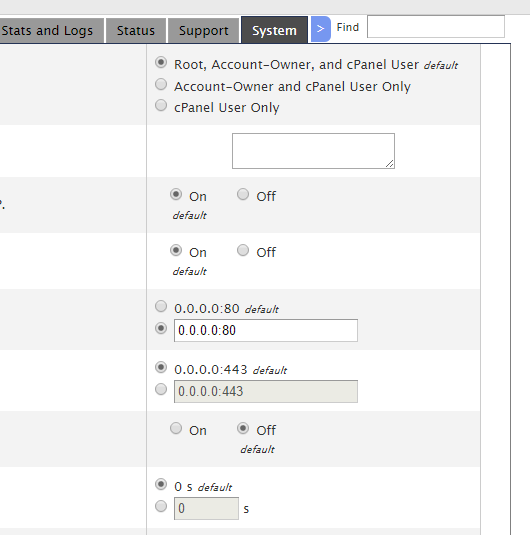
Once this is done, install varnish:
yum install varnish
In case this generates an error. Add the varnish repository:
rpm --nosignature -i https://repo.varnish-cache.org/redhat/varnish-3.0.el6.rpm
Should the install fail with a jemalloc error. Add the EPEL repo:
rpm -ivh http://download.fedoraproject.org/pub/epel/6/x86_64/epel-release-6-8.noarch.rpm
After install is complete, edit config file and change listening port to 80.
nano /etc/sysconfig/varnish
Edit this section.
VARNISH_LISTEN_PORT=80
In the same file, look for this
-s ${VARNISH_STORAGE}
And replace with:
-s malloc,2G
This tells varnish to write the cache in memory instead of file and limit the size to 2GB. You’ll have to set the allocation smaller if you have limited memory.
Create the varnish config file.
cd /etc/varnish/
mv default.vcl default.vcl.orig
nano default.vcl
Use the following configuration. Replace the $host_ip_address var to your host’s ip address. NOTE: if you use localhost or 127.0.0.1, varnish will fail to work. The site will show the default page instead of the correct content.
backend default {
    .host = "$host_ip_address";
    .port = "8080";
}
sub vcl_recv {
    if (req.url ~ "\.(png|gif|jpg|swf|css|js)$") {
    return(lookup);
    }
}
# strip the cookie before the image is inserted into cache.
sub vcl_fetch {
    if (req.url ~ "\.(png|gif|jpg|swf|css|js)$") {
    unset beresp.http.set-cookie;
    }
}
Save config and start the varnish service.
service varnish start
chkconfig varnish on
To view varnish stat issue this command.
varnishstat -1
Give yourself a pat on the back. You can start adding accounts on cPanel.