How to Disable USB Drive Autoplay to Protect Yourself Against Viruses

August 13, 2009

For the benefit of those who don’t know, the Windows autoplay feature is actually a security risk. The default behavior of Windows when you insert a CD into a drive or insert a portable drive (USB drive or USB hard disks) is to look for autorun.inf in the root directory and execute embedded commands.

While this has been long a common feature, it has been exploited too commonly by viruses and malware. An infected USB drive will usually have a hidden autorun.inf in the root folder that contains malicious commands to execute a hidden executable file that will in turn, infect your operating system. So the way to go is to make your computer a tad secure by disabling autoplay for all drives. Here’s how to do it:

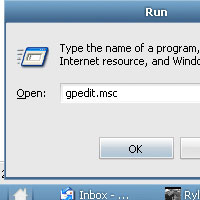
  1. Click Start and run gpedit.msc.
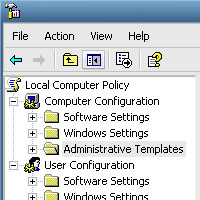
  2. This will open up the Windows Group Policy. Under the Computer Configuration branch look for the Administrative Template folder and expand the tree.
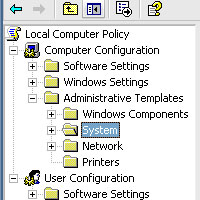
  3. Now click on the System folder.
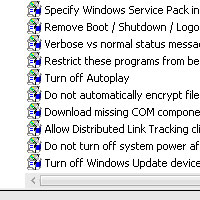
  4. Look for the Turn off Autoplay setting on the right window pane.
  5. Open the Turn off Autoplay setting and set it as enabled. Make sure autoplay is enabled on all drives (there’s a drop down in the window).
  6. Click OK and you are all set.

The policy is effective right away soon as you click the OK button. When you are done, at least you’ve added a level of security on your system, knowing that dormant malware executables won’t be automatically run whenever an infected drive is plugged in to your computer.

Just one note, this disables the autoplay feature whenever you insert a CD or DVD to your computer (you can still run it manually though). A small price to pay I’d say to the security it adds to your system. ^_^

Leave a Comment

Previous post:

Next post: